Glitter has the power to add instant pizzazz to any day, which is one of the many reasons why I love it so much. At the age of 12, I bought my first vial of body glitter and now I’m a fully grown woman who still wears it. I don’t care that glitter creates a horrific mess, or that little flecks of it can get into your eyes. I love it, end of story.
Because I’m always trying to find new ways to incorporate glitter into my look, today I bring you… glitter EYEBROWS! That’s right. The windows to your soul are about to scatter light in every direction. Get ready! There are two ways to do glitter brows, and both are really easy. One method uses glitter only, and the second adds a base of bright color underneath for maximum impact. Follow along to recreate the ultimate dazzling look at home.
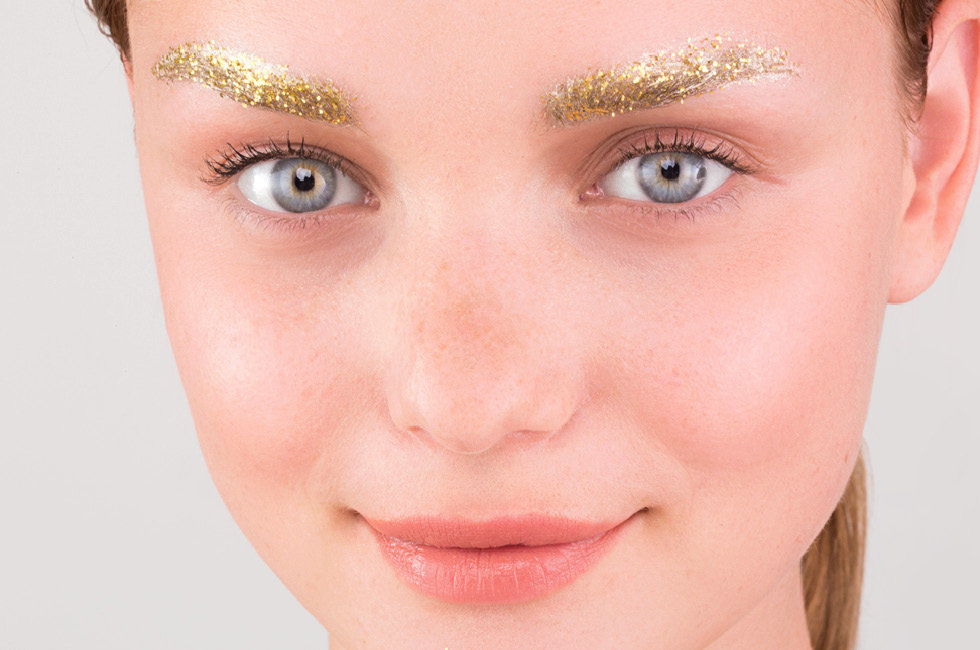
Understated: The earth-angel
Supplies list
- spoolie brush
- eye shadow brush (or any makeup brush you prefer)
- glitter base (lash glue will work, too!)
- makeup-grade glitter
- tissues
What we used: on brows: Lit Cosmetics Clearly Liquid Glitter Base, Lit Cosmetics Glitter Pigment in Mexican Lucky S2; on face: Koh Gen Do Moisture Foundation in#112 &
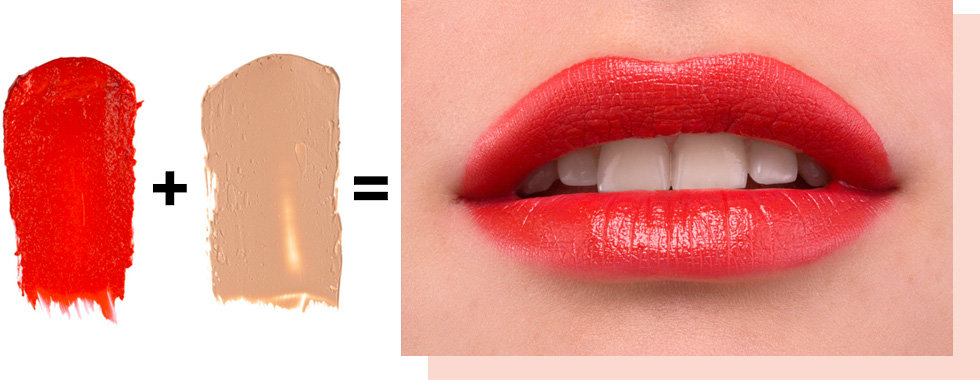
#113 and Kevyn Aucoin The Creamy Glow Duo #3; on lips: Ellis Faas Glazed Lips in L303; tools:
Chikuhodo GSN-15 Series Spoolie and Billy B Paint Brush five
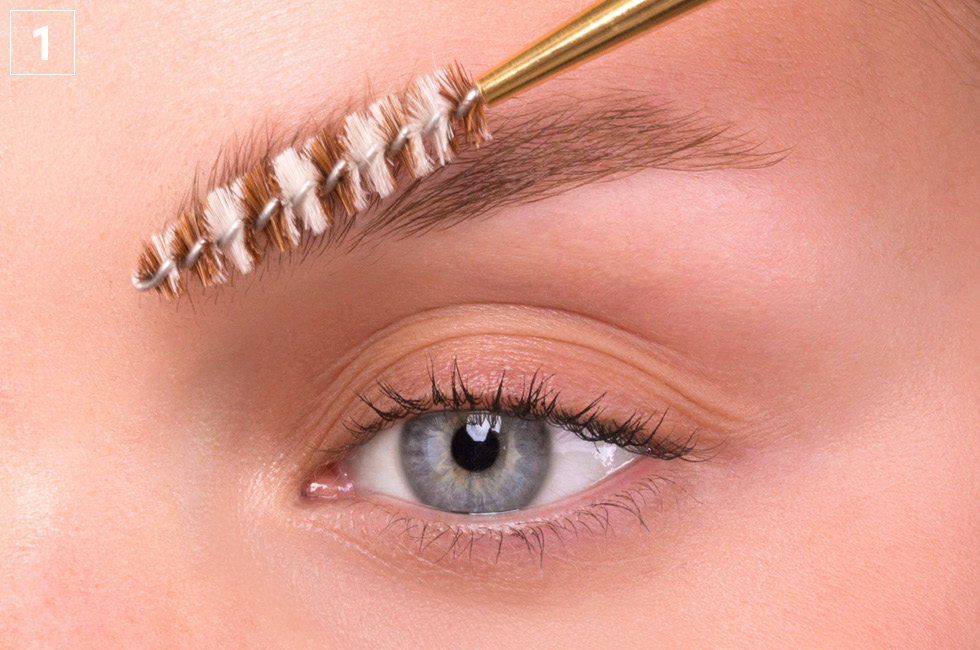
1: Brush brows into place.
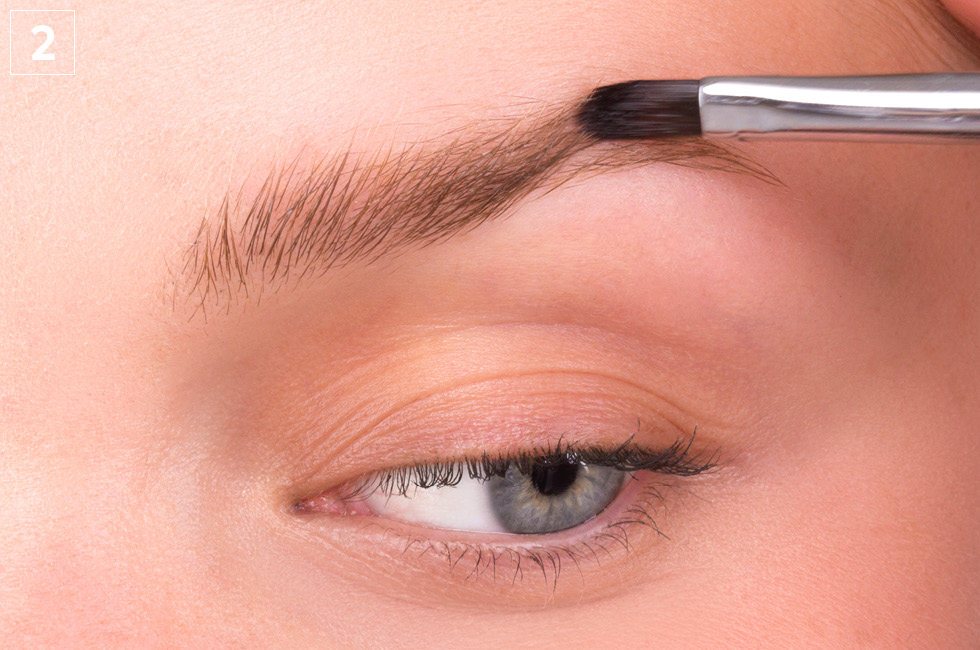
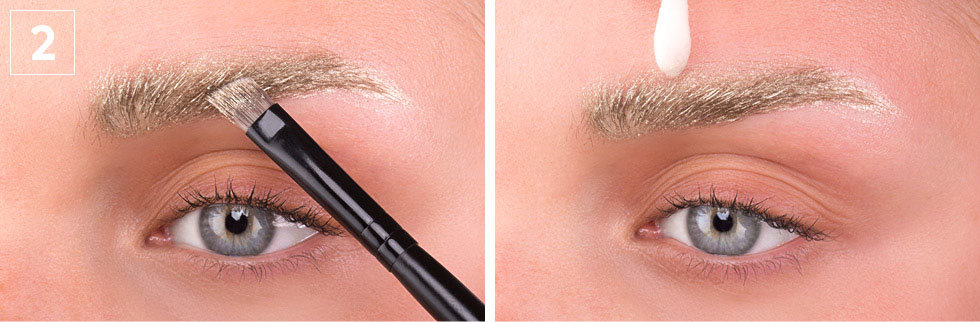
2: Using an eye shadow brush, spread the glitter base all over one of your brows, covering it completely.
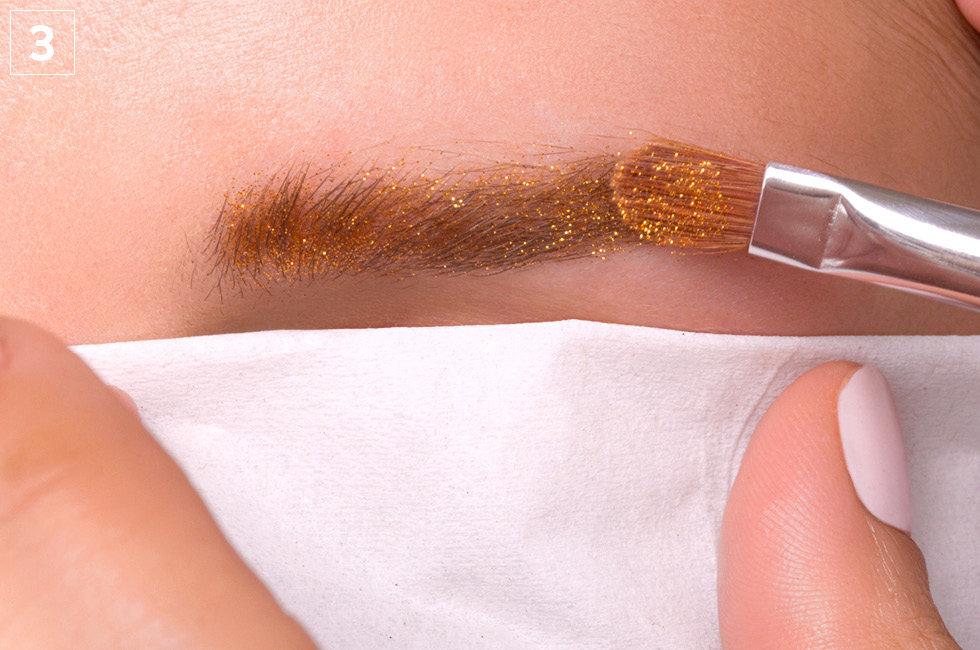
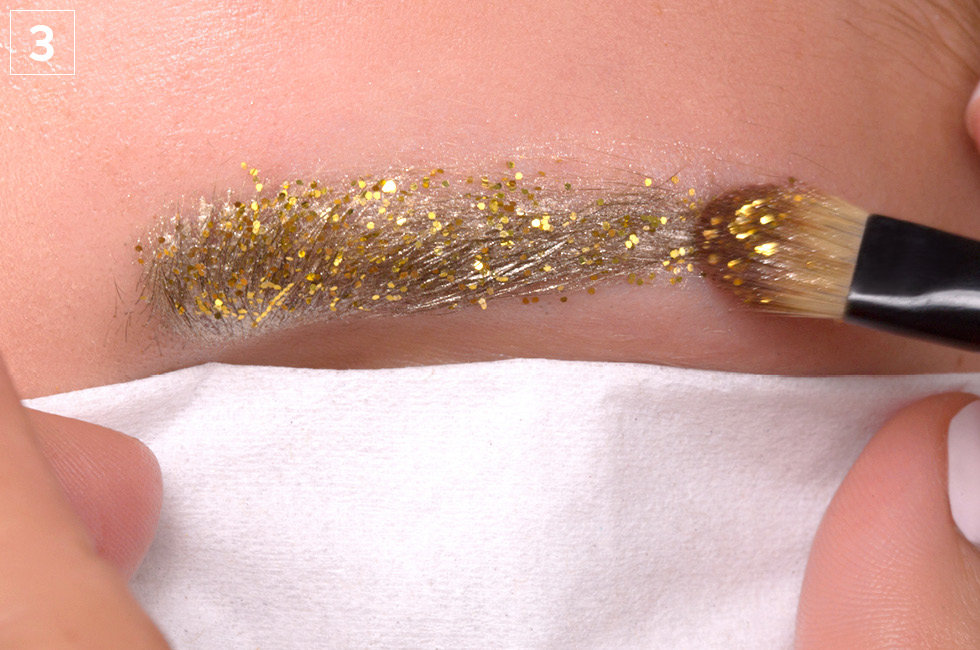
3: Dip the brush into glitter; and place a folded tissue over your eye to help catch fallout. If you find it too difficult to maneuver with a tissue, you can instead lean forward as you apply, so that any extra flecks fall away—and don’t land on your face.
4: Make sure the glue hasn’t dried yet, and then use the brush to press glitter onto brow.
5: Add MORE GLITTER. Cover that brow! You need more!
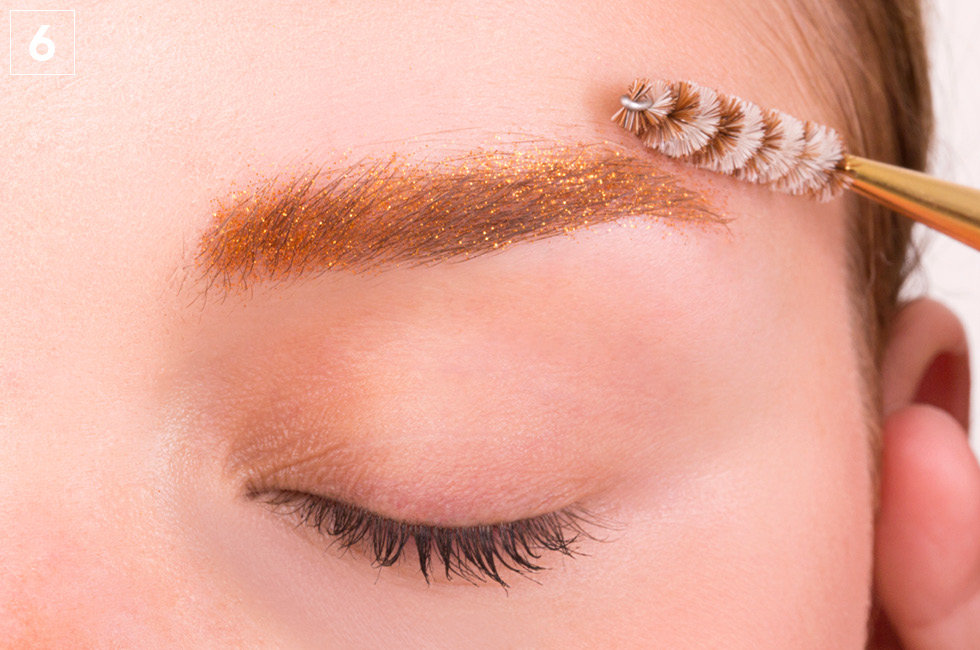
6: Using a spoolie, carefully comb the glitter through for maximum coverage.
7: Repeat steps 2 through 6 on your other brow and take a hundred selfies before hitting the streets (optional).
Bold: Disco Gold
Supplies list
- spoolie brush
- eye shadow brush (or any makeup brush you prefer)
- glitter base (lash glue will work, too; if you’re using a cream or liquid eye shadow, you may not need it)
- any eye shadow, in any color of your choice
- tissue
- makeup-grade glitter
What we used: on brows: Lit Cosmetics Glitter Pigment in Liberace S4, and Ellis Faas Light Eyes in E301; on face: Koh Gen Do Moisture Foundation in #112 & #113 and Kevyn Aucoin The Creamy Glow Duo #3; on lips: Ellis Faas Milky Lips in L207; tools: Chikuhodo GSN-15 Series Spoolie and Inglot Cosmetics Eye Shadow Brush (sold in a set)
1: Brush brows into place.
2: Using your brush, apply eye shadow so it’s completely covering one brow. Clean up any mistakes, i.e. pigment that fell outside the brow line, with a cotton swab. Because we used a creamy liquid eye shadow, we didn’t add any glitter base. But if you’re using regular powder shadow, add that next.
3: Dip the brush into glitter and place a folded tissue over your eye to help catch fallout. If you find it too difficult to maneuver with a tissue, you can instead lean forward as you apply, so that any extra flecks fall away—and don’t land on your face. Make sure the shadow (or glitter base) hasn’t dried yet, and then use the brush to press glitter onto the brow.
4: Add MORE GLITTER. More!
5: Using your spoolie, carefully comb the glitter through for maximum coverage.
6: Repeat steps 2 through 5 on your other brow and practice fielding compliments in the mirror (optional).