New to eye liner? Here’s how to pull off basic eye liner looks.
Like many of you, I love eye liner. I love the precision and perfection of a well-drawn cat eye with liquid liner; I love the smudgy bedroom eyes that a pencil can create; I love the wet-looking, deep vinyl look of gel. Rummage through my makeup drawers, and you’ll find 19 eye liners in varying shades of black, brown, navy, white, grey. I have even less-frequently-used eye iners (hot pink! red! turquoise! silver glitter!) in a huge box in my closet.
But for anyone new to makeup, or just starting to experiment, getting the hang of eyeliner can be an exercise in frustration. Do you line just the upper lids? Or the bottom lids, too? What’s a waterline, and how can eyeliner possibly stay there? Do you use a spoon, tape, or just freehand it when you’re trying a cat-eye? Liquid or gel? Powder or pencil? What about a brush? And hey—do you look cool? Do you look crazy? HOW DO YOU KNOW?
Deep breaths, newbies.
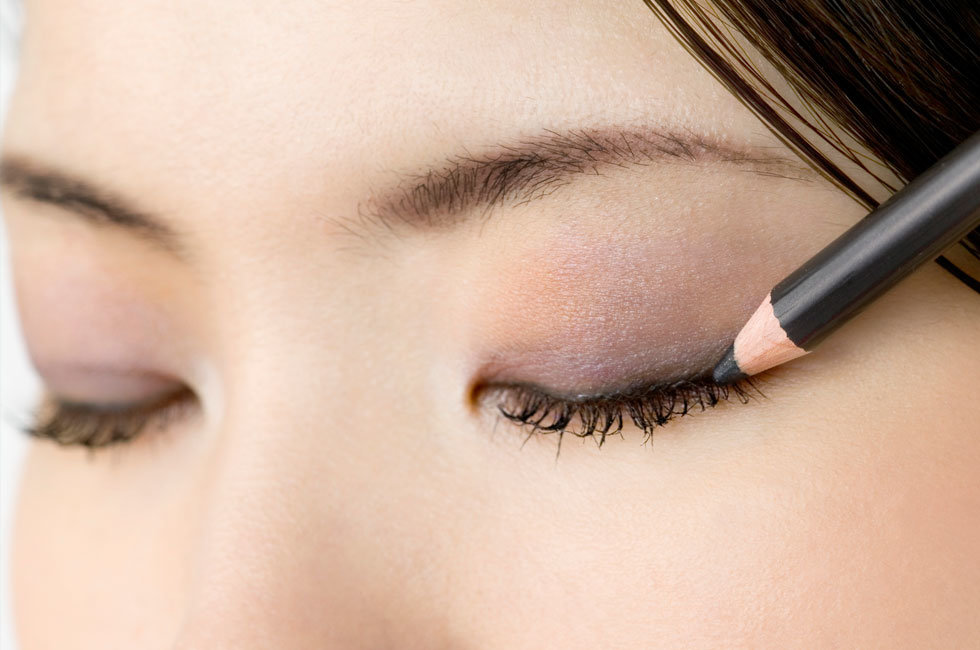
If you’re just starting out with eye liner, you only really need one product. And that product is a simple, creamy black waterproof eye liner pencil. Nobody has to get spendy—this Inglot pencil is smooth, water-resistant, and $12.
Or there’s the foolproof Charlotte Tillbury Rock ‘N’ Kohl if you want something with which you can learn how to get a super-smudgy look. Let’s keep things simple and save the liquid- and gel-liners till after you master the pencil.
A rich, emollient black pencil liner can be used in several ways. We’re going to talk about three of the most popular looks right now.
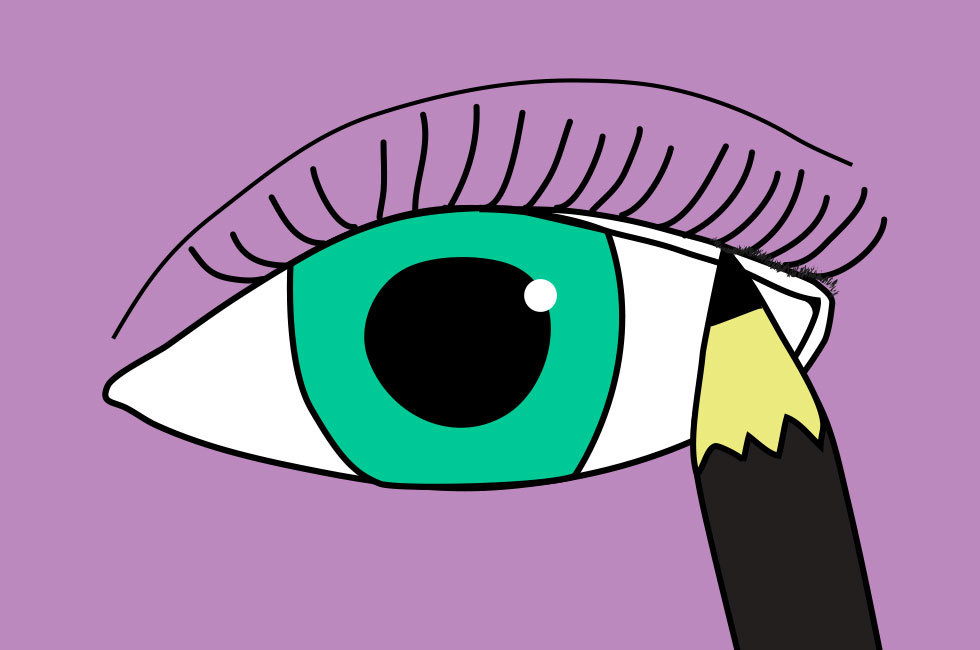
Tightlining
Tightlining is when you (gently!) poke the eye liner between your lashes to make them look fuller and more lush. It looks like you’re not wearing much eye liner—you just look like you naturally have thick, full, darker lashes.
Take your sharpened pencil and carefully, carefully apply liner in between your lashes on your top lid, filling in any spaces and teensy gaps you might see (please do not stab your eyes.) It might take a few times, and you might be going, “UGH is this even worth it?” but trust: tightlining gets a lot faster the more you practice, and your eyelashes will look like they belong to an adorable cartoon kitten.
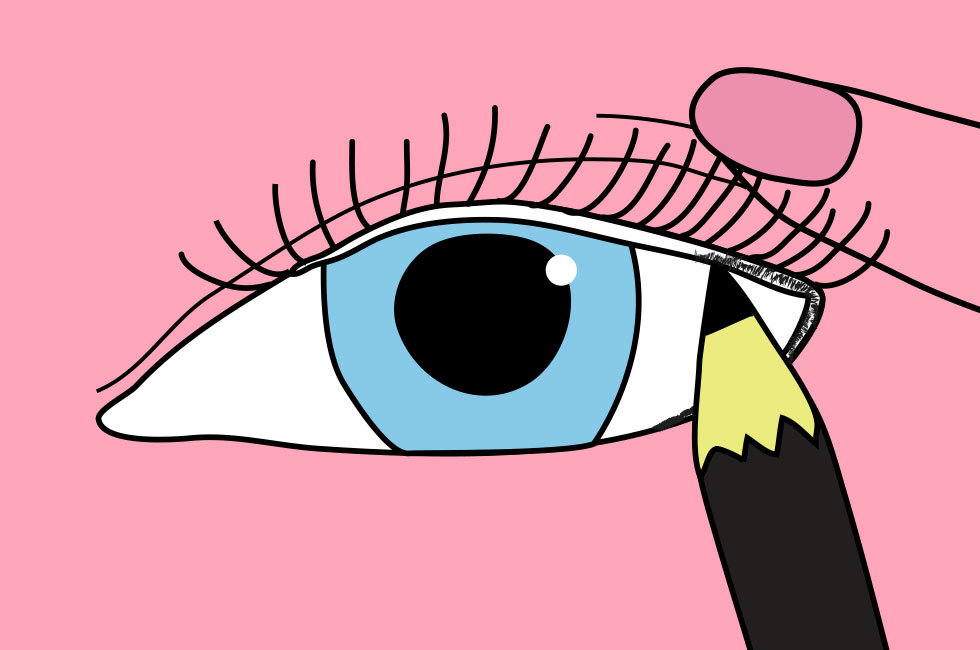
Waterline
Waterlining means to line the actual rim of your eyelids—the waterline is the place that your eyeball touches. Waterlining, like tightlining, can help your lashes look full and gorgeous, like you were born with an extra set of lashes inside your lashes. With waterlining, where once you had mascara and maybe some liner on your top lid, you now have subtly deeper, brighter, more intense eyes, and it’s hard for others to put a finger on exactly why. But we know why: it’s waterlining! It’s a technique that took me a long time to warm up to. I just couldn’t get over the idea that I shouldn’t be putting makeup on my waterline, but now I do it all the time!
Use your pointer finger to gently pull your top eyelid up towards your eyebrow. See that strip of smooth flesh under your lashes? That’s where we’re going to put the pencil. Run the pencil very lightly over the waterline, look to see how much color is being deposited, and then do it again to cover any gaps. If you want, you can also do your bottom waterline as well before adding sweeps of mascara. There! Instant subtle drama in just a few sweeps of the pencil!
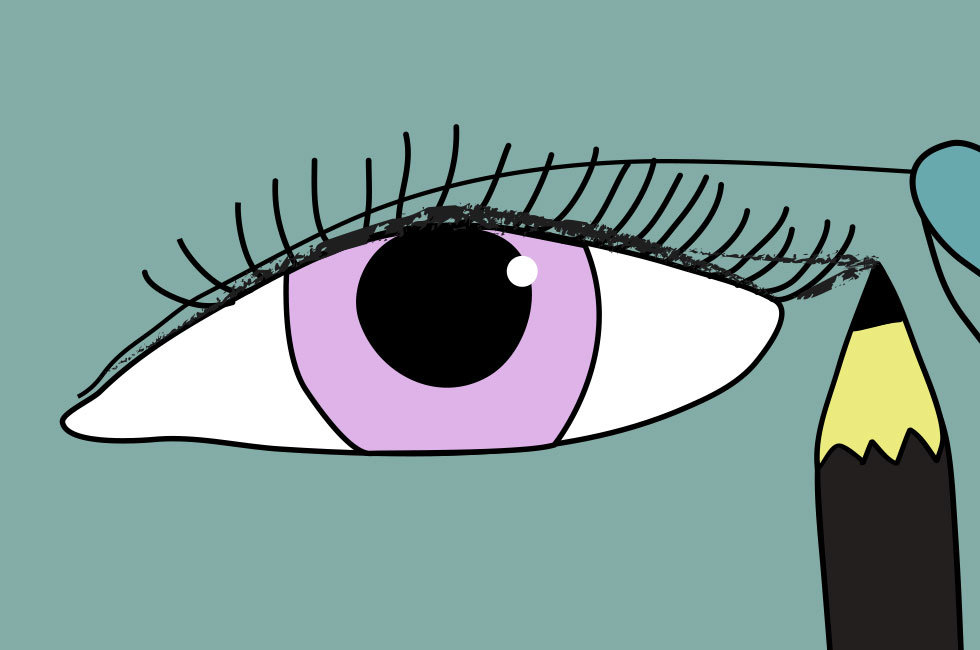
Cat Eye
Gently pull the outer edge of your eyelid taut. This is to make sure your pencil doesn’t snag on any loose skin; we’re looking for a defined line, not wiggles! Ok: with your sharpened pencil (it’s important to keep your pencils sharpened), start at the inner corner of your eye and line a nice, dark line as close as you can to your lash line, ending at the edge of your eye. Now, to achieve the famous cat eye, draw a dot with your eye liner pencil where you want the pointed flick to end. (If you’re trying this for the first time, don’t go super dramatic and have the flick end drawn wayyyyy out on your eye.) Then just connect your liner to the already-drawn dot, ending with a point!
Keep in mind: the cat eye takes a little time to master, and there is no shame in keeping a Q-tip moistened with makeup remover on hand to buff away any lil’ mistakes.

0 comments:
Post a Comment